
Add a webhook to an automation and NerdyTags sends each new subscriber or form submission to Zapier. From there, your Zap can pass the lead on to a CRM, a spreadsheet, Slack or any of the thousands of apps Zapier works with.
You'll set this up in NerdyTags Business under Automations. You'll also need a Zapier account on a paid plan. NerdyTags connects through Webhooks by Zapier, which Zapier marks as Premium and is available on Zapier's paid plans.
Webhooks don't count toward the 5 integrations each automation can have, and each automation can have up to 2 webhooks. This guide walks through the Zapier setup step by step. For the full list of fields, how deliveries and retries work, and how to verify signatures, see Sending leads to Zapier, Make and other apps with webhooks.
Step 1: Open your automation
In the sidebar, go to Automations, then create a new automation or open an existing one. If it's new, save it first. Webhooks are added after the automation exists.
Scroll down to the Webhooks & Zapier section: "Send new subscribers and form submissions to Zapier, Make, n8n or any app that accepts webhooks."
There's also an Add a webhook button under Send to apps in the automation's Then section.
The section has an Add webhook button, a How to connect Zapier box with a short version of these steps, and See what gets sent, where Preview data shows the fields each event sends.

As the box puts it: "Here, click 'Add webhook', give it a name and paste the URL. It gets the leads this automation matches." There's nothing to choose on the webhook itself about which leads to send. The automation's triggers (new email subscriber, new form submission or both) and its profile filters decide that, so set those up the way you want before you start.
Keep this tab open while you set up the Zap.
Step 2: Create a Zap with a Catch Hook trigger
In Zapier, create a new Zap and click the 1. Trigger card.
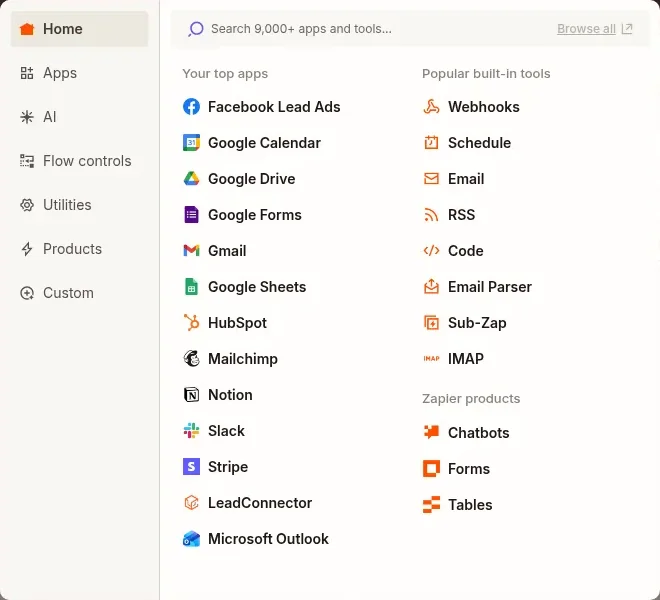
In the app picker, choose Webhooks under Popular built-in tools. Once it's selected, it shows as Webhooks by Zapier, with a Premium label.
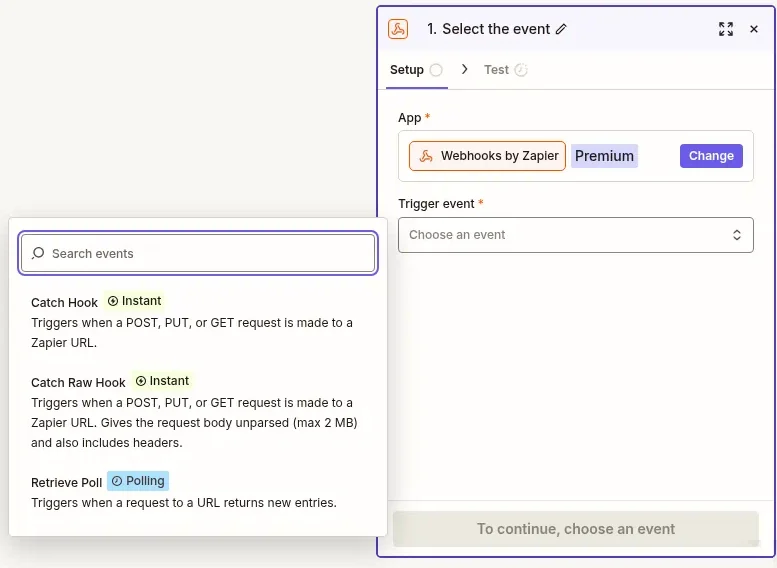
Under Trigger event, click Choose an event and pick Catch Hook (marked Instant). Click Continue.
On the Configure tab, you'll see an optional Pick off a Child Key field. Leave it blank and click Continue.
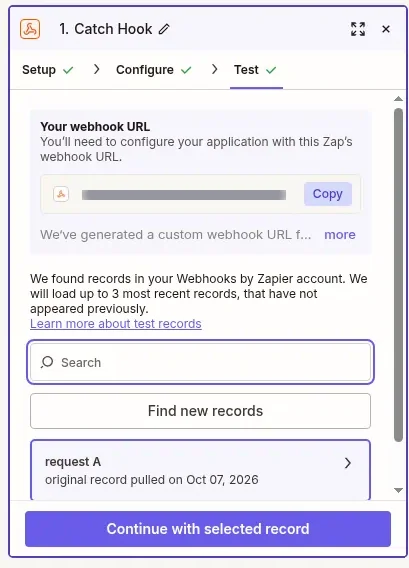
The Test tab shows Your webhook URL. Click Copy.
Here's the app picker, with Webhooks at the top of Popular built-in tools:
Choosing the Catch Hook event:
And the Test tab with your webhook URL (we've hidden it here):
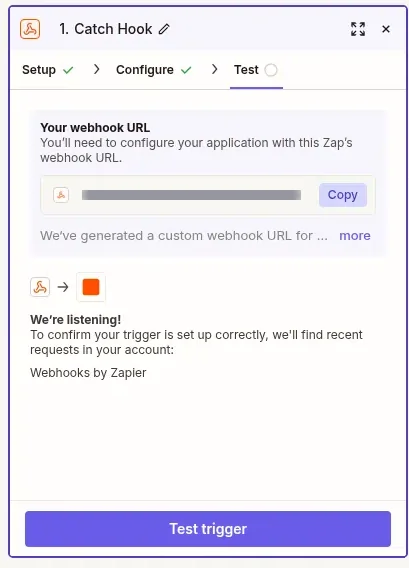
The URL starts with https://hooks.zapier.com/hooks/catch/. Anyone with this URL can send data to your Zap, so keep it to yourself and your team.
Don't click Test trigger yet. Zapier needs something to catch first, so you'll send a test from NerdyTags in Step 4.
To give the Zap a name you'll recognize, open the menu next to its name at the top of the editor and choose Rename. We called ours "NerdyTags leads."
Step 3: Add the webhook in NerdyTags
Back in NerdyTags, click Add webhook in the Webhooks & Zapier section.
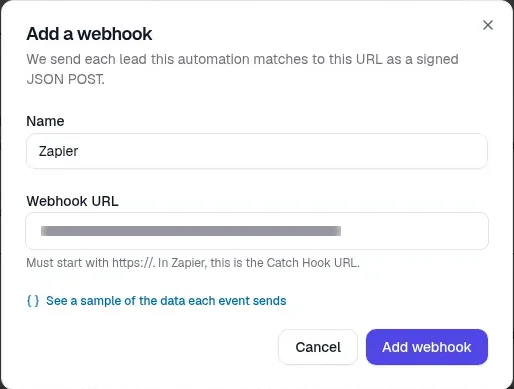
The Add a webhook window opens: "We send each lead this automation matches to this URL as a signed JSON POST." Name is already filled in as Zapier. Keep it, or change it to something that tells your webhooks apart.
Paste the URL into Webhook URL. It must start with https://.
Click Add webhook.
Next, a Webhook added window shows the webhook's signing secret. You don't need it for Zapier, so just click Done. The secret is for developers who receive webhooks in their own code, and you can view it again at any time.
Your webhook now appears at the bottom of the section, with its name, a shortened URL, an Active badge, a Send test button and an actions menu (the three dots):

Step 4: Send a test and catch it in Zapier
Click Send test on the webhook. You'll see "Test event delivered (HTTP 200)."
Switch to Zapier and click Test trigger. Zapier says it found records and lists request A.
Click request A to see the fields it caught, then click Continue with selected record.
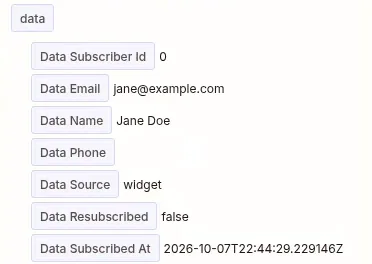
The test uses example details, like the email [email protected] and the name Jane Doe, so nothing real is sent.
Step 5: Choose the fields to use
Zapier turns each part of the event into a field you can use in later steps. These are the ones you'll use most:
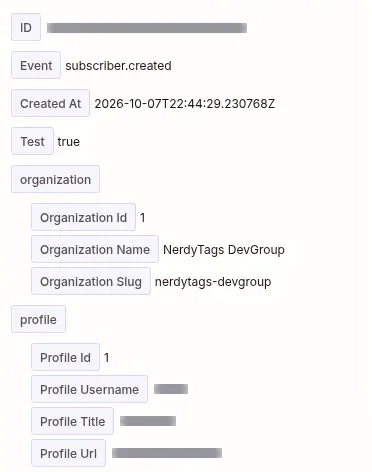
Event:
subscriber.createdfor a new subscriber, orform_submission.createdfor a form submission.Data Email, Data Name and Data Phone: the subscriber's details. Name and phone are only filled in if they gave them.
Data Source and Data Subscribed At: where and when they signed up.
Data Form Name, Data Submitter Email and Data Fields: for form submissions, the form's name, the person's email and each of their answers, labeled with your form's field names.
Profile Title, Profile Username and Profile Url: the profile the lead came from.
Test:
truefor events sent with Send test,falsefor real leads.
Here's the start of the sample in Zapier, with the event details, your organization and the profile (we've hidden the event ID and profile details):
And the subscriber's details:
Zapier only shows fields from records it has caught. If your automation runs on form submissions and you'd like to map the answers before a real one arrives, submit your form once yourself, then click Find new records on the trigger's Test tab.
If you'd like to keep test events out of your apps, add a Filter step after the trigger that only continues when Test is false.
For every field and an example of each event, see Sending leads to Zapier, Make and other apps with webhooks.
Step 6: Add actions and publish your Zap
Add an action step for each app you want leads sent to, like a CRM, a spreadsheet or Slack, and map the fields from Step 5.
Test the actions to check everything lands where you expect.
Publish (turn on) your Zap.
From then on, NerdyTags sends each lead the automation matches to Zapier within seconds.
When leads are sent
NerdyTags sends a lead to Zapier every time the automation runs on its trigger. Depending on how the automation is set up, that's each new subscriber, each form submission, or both.
Check what was sent
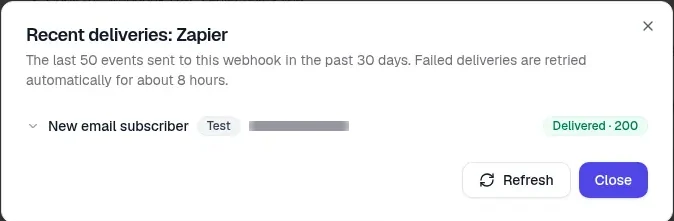
To see what NerdyTags sent, open the webhook's actions menu (the three dots) and choose Recent deliveries. The menu also has Edit, Signing secret, Pause (or Resume) and Delete.
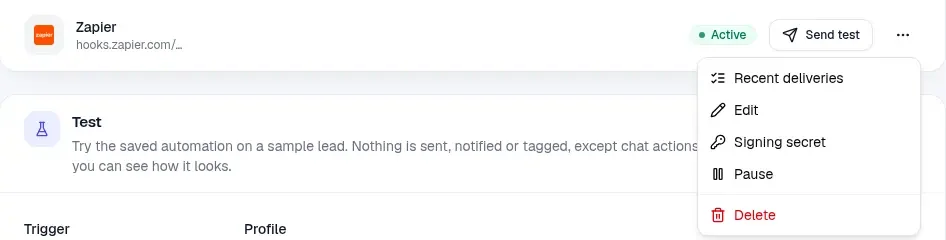
Recent deliveries shows the last 50 events sent to this webhook in the past 30 days. Click an event to see its event ID, its attempts, the payload that was sent and Zapier's response, and click Refresh to check for new ones. If a delivery fails, NerdyTags retries it automatically for about 8 hours.
If your Zap is turned off
When a Zap is off, Zapier rejects new events with HTTP 410, and the webhook pauses itself. To start sending again, turn the Zap back on in Zapier, then choose Resume from the webhook's actions menu in NerdyTags.
Stop sending leads to Zapier
You can stop in either app:
In NerdyTags: open the automation, then choose Pause from the webhook's actions menu to stop for a while, or Delete to remove it. Choose Resume to start again.
In Zapier: turn off the Zap. The next time NerdyTags sends a lead, Zapier returns HTTP 410 and the webhook pauses itself. If you won't use the Zap again, delete the webhook in NerdyTags too.
Leads already sent stay in Zapier and in the apps your Zap sent them to.